
I started with the 9 x 9 CTMH Memory Showcase Album. This size is no longer available in the catalogue, but they still have a 6 x 6 size available. I managed to snag a couple of the 9 x 9's when they were on the "While Supplies Last" page on my online website for a mere $3.00. This page is a great way to pick up some really cool products at a huge discount.
I decided to use an older paper pack that I had been hoarding for awhile called Veranda. It has beautiful colours and the coordinating Stickease had the perfect sayings for a Family Showcase Album. I used the same paper on both the front cover and back, laying them out so that they flowed towards each other. That is kind of hard to see in these pictures. I stamped the word family using the small Chocolate letters and Creme Brulee ink. I then went over it with Glossy Accents to give it a nice shine. The bird I cut out of the paper and popped up. On the back I stamped the sentiment, "Anything is possible" from the March SOTM. I used Creme Brulee ribbon which I tucked inbetween the paper and the cover before ATG'ing down my paper. This gave the closed album a nice finished look.


The next two photos are quick glimpses of the album spread out as if it were on display. That's the beauty of these accordian style albums, they can become a work of art on display or closed like a beautiful book.


I chose to design this book as if there were 3 two page layouts. I found this made it easier to plan and organize. I used my paper pad from CTMH to draw the papers to scale modelling them after designs from the How To Program books.

This first LO is from the Cherish book and is called Simple Pleasures. I chose to use the greens and browns in the paperpack for this page, keeping it pretty neutral.


I didn't have any hinges so I used some edge anchors that I had laying
around and just opened them up to look like hinges. The trick was to
open them gently enough that they didn't break in half. The Blessed is a stickease as is the scroll work ribbon that goes across both pages. The traditions buckle is from Michaels. I used Versamark and Clear Detail embossing powder for the flourish at the top of the second page.

This LO was based on a design called the Classical Look found in the Imagine book. Since it was positioned next to the previous LO, I chose to carry the brown over, but switched up from the olive greens to juniper blue by using patterned paper from the pack that had both in it. I was further able to lighten up the page and lead into the covers by using the damask paper included in this pack. These pages included Stickease, stamping, embossing, and I made a little folder. The life embellishment on the bottom is from the dollar store.


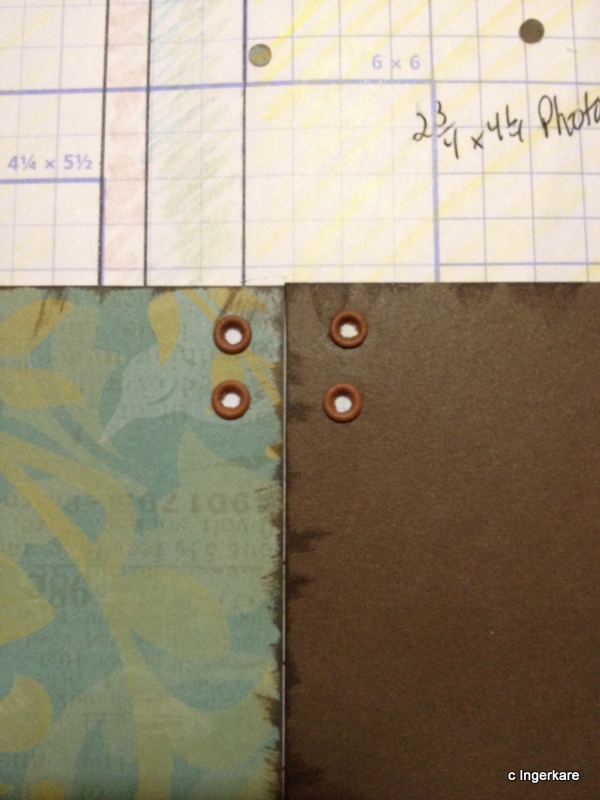
This was the first time I had used the Soft Set eyelet tools. Were they ever easy to use. I wish I had tried them before. I loved the look of the eyelets and then using floss to lace them together, almost like a corset. Here is a picture of the back of the eyelets to show how flush they were.


The last LO is next to the covers. I used much lighter papers on this
as the cover itself is quite light and delicate. The greens and blues
are all pulled together. That is the beauty of using CTMH paper packs.
Easy peasy coordinating. In this case, I also used the Creative Basics
paper that coordinated with the Veranda paper pack.


Well, that was my special project. I hope you like it. I loved making it and I already have plans for another one, which I think I will keep for myself!
Happy Scrapping!!
Karen
Oh, Karen! What a beautiful album. I love the color combinations you have chosen.
ReplyDeleteThank you, Melanie. I was super happy with it when it was finished and received a lot of complements when I turned it in. The girl that won the bid on it really loves it!
Delete